Custom solar systems
Making your own solar system webpage
Overview
Why should I do this?
Because it looks cool? Duh.
Setup
As it’s own blog page
1: New post
- Create a new
.mdfile in_posts.
2: Add code
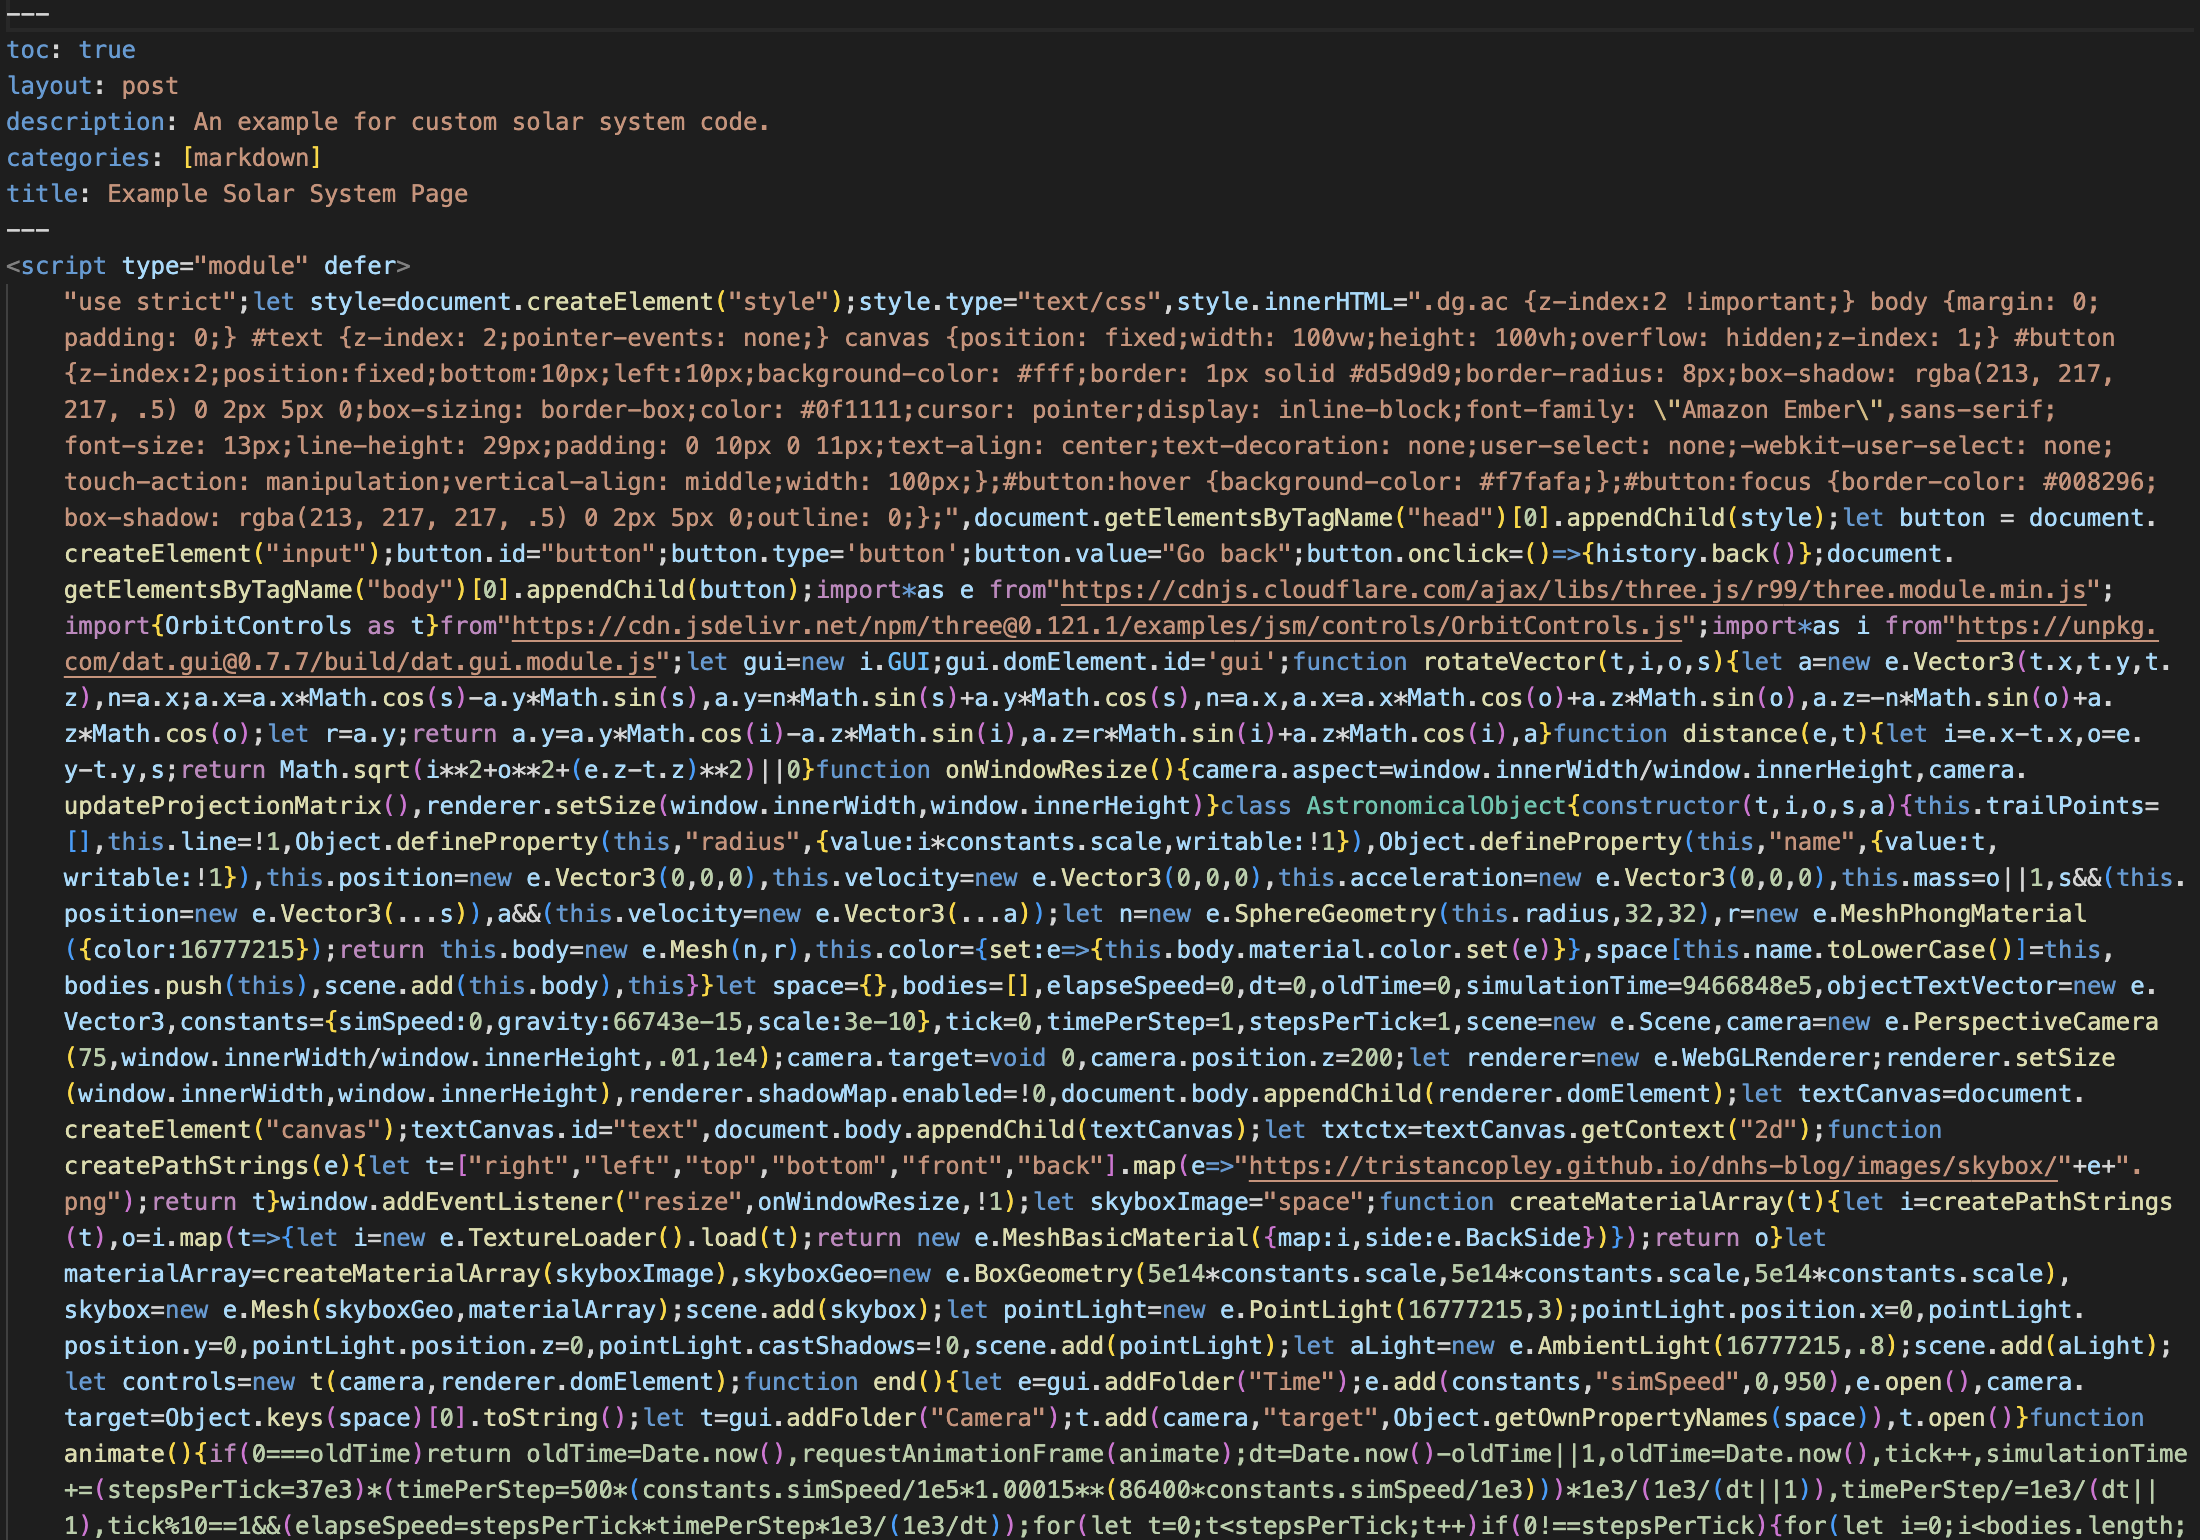
- Go to this link and copy the code from the file and paste it into your new
.mdfile.

3: Enjoy
- Look at the new page.
How do I play with my solar system?
Manipulating time
In the top-right of the screen there should be a single slider, simulationSpeed. The slider measures how much time in the simualtion will pass every real-time second.
Looking around
Using your mouse or trackpad, click the screen and drag. If the simulation is your homepage background then you CAN NOT move the simulation manually.
Specifying which planet the camera orbits
A dropdown should be present in the top-right of your screen called Camera Target. Select your planet from that drop down and the camera will start tracking that planet instead.
How do I customize it?
This is where the real fun begins. The simulation is pre-built with our solar system as it was in the year 2000 (Pluto is included :D).
Adding planets
Add planets with this simple line of code:
addAstronomicalObject(new AstronomicalObject(name, radius, mass (kg), position (m), velocity (m/s)));
The name is pretty staightforward. Example:
// Earth

addAstronomicalObject(new AstronomicalObject('Earth', mass, weight (kg), position (m), velocity (m/s)));
The radius is the radius of the object in meters. Example:
// 6371000
// in meters

addAstronomicalObject(new AstronomicalObject('Earth', 6371000, weight (kg), position (m), velocity (m/s)));
The mass is the mass of the object in kilograms. Planets have A LOT of mass so I reccomend using scientific notation. Example:
// 5.972e24
// in kilograms

addAstronomicalObject(new AstronomicalObject('Earth', 6371000, 5.972e24, position (m), velocity (m/s)));
The position is the x-axis, y-axis, and z-axis offset from the origin (0, 0, 0) in meters. The position parameter accepts a list with 3 items. Example:
// [151000000000, 0, 0]
//       x        y  z
// Each item is in meters

addAstronomicalObject(new AstronomicalObject('Earth', 6371000, 5.972e24, [151000000000, 0, 0], velocity (m/s)));
The velocity is the x-axis, y-axis, and z-axis velocity in meters per second at the start of the simulation. The velocity parameter accepts a list with 3 items. Example:
// [0, 29785.89, 0]
//  x      y     z
// Each item is in meters per second

addAstronomicalObject(new AstronomicalObject('Earth', 6371000, 5.972e24, [151000000000, 0, 0], [0, 29785.89, 0]));
The final code look something like this:
addAstronomicalObject(new AstronomicalObject('Earth', 6371000, 5.972e24, [151000000000, 0, 0], [0, 29785.89, 0]));
Planet colors
You can alter a planet’s colors really easily. Example:
// Instead of earth, put the name of your planet

earth.color.set('green');
Adjusting a planet’s angular orbit
To alter a planets orbit its a little more complicated. Either you manually add some X, Y or Z velocity, which will make it angled instead of flat, or you can angle it with a special function I added. The reason we use this special function is because of a simple but annoying problem. If you search up the orbital speed of Pluto for example, NASA lists its orbital speed as 3,710 meters per second. The problem with that is Pluto has an orbit angle of 17.14 degrees. The way to get both orbit velocity and orbit angle correct is to rotate the velocity of pluto by 17.14 degrees with the special rotateVector() function. rotateVector() returns a rotated vector. The function has 4 parameters, the vector to rotate, in this case its space.pluto.velocity, and the last 3 are x-rotation, y-rotation and z-rotation. Rotations are in radians, but by using the DEG * Math.PI / 180 formula inside the parameter you can just type in a degree and it’ll be in radians. Example:
pluto.velocity = rotateVector(pluto.velocity, 0, 17.14 * Math.PI / 180, 0);
Since position is also a vector, like velocity, you can apply the rotateVector() function on a planet’s position to get the orbit perfect. You use this to rotate the apex of the orbit. Note space.pluto.position instead of space.pluto.position Example:
pluto.position = rotateVector(pluto.position, 0, 17.14 * Math.PI / 180, 0);
Removing the GUI (top-right control menu)
Pretty straightforward, this following code snippet just removes the GUI in the top-right.
// Deletes the GUI

gui.destroy();
Adjust start position of camera
Adjust the camera position to get a better starting angle. This is especially useful for using the solar sytem as your background, as you are unable to rotate the scene manually.
// Changes x, y and z position of the camera. Camera looks to the first astronimal body you add

camera.position.set(-150, 150, 270);
Adjusting constants
The simSpeed constant is the slider in the GUI, it dictates the speed of the simulation.
The gravity constant is the universal graavitational constant, not exactly sure what happens when you mess with it, but you can.
The scale of the simulation. The current scale is pretty good, but if you really want to you can mess with it.
// Three constants you can alter manually

constants = {

    simSpeed: 371,
    gravity: 66743e-15,
    scale: 3e-10

}